
Azure Virtual Machines
Are you ready to kick your cloud computing skills into high gear, Football fans?
Azure Virtual Machines are like the star players of your cloud computing team, giving you the power and flexibility across the team.
They allow you to run your applications and workloads on the cloud, using virtual machines that are created and managed through the Azure Portal or PowerShell.
To get started with Azure Virtual Machines, you’ll need to create a virtual machine using the Azure Portal or PowerShell.
This is like signing a new player to your team.
You can choose from a wide range of preconfigured virtual machine images, including Windows and Linux operating systems, and customize the virtual machine settings to meet your needs.
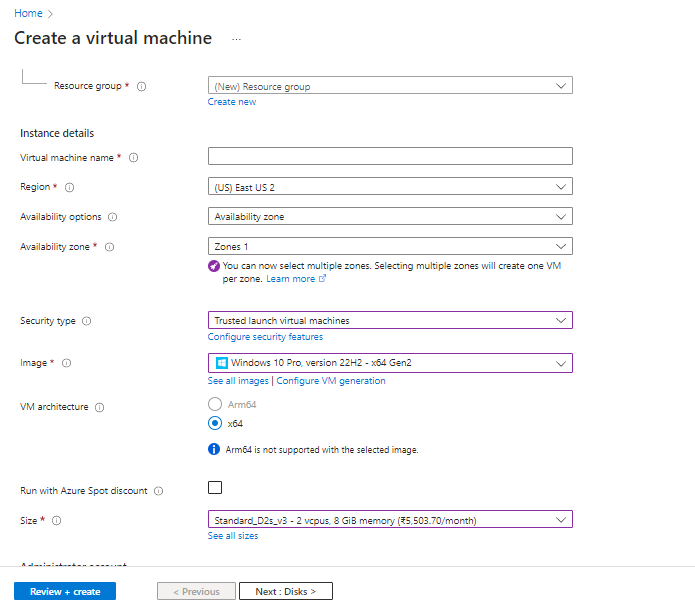
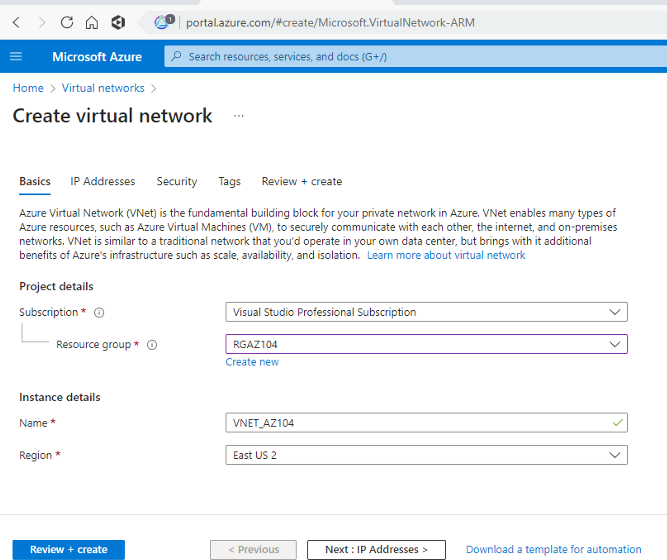
Here’s how you can create a virtual machine using the Azure Portal:
- Log in to the Azure Portal and select Virtual Machines from the left-hand menu.
- Click the Add button and choose a virtual machine image that fits your needs.
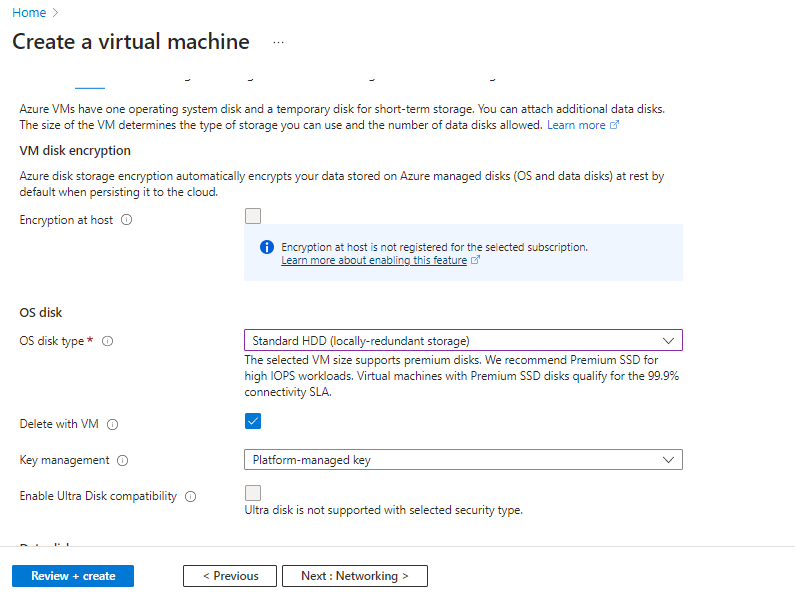
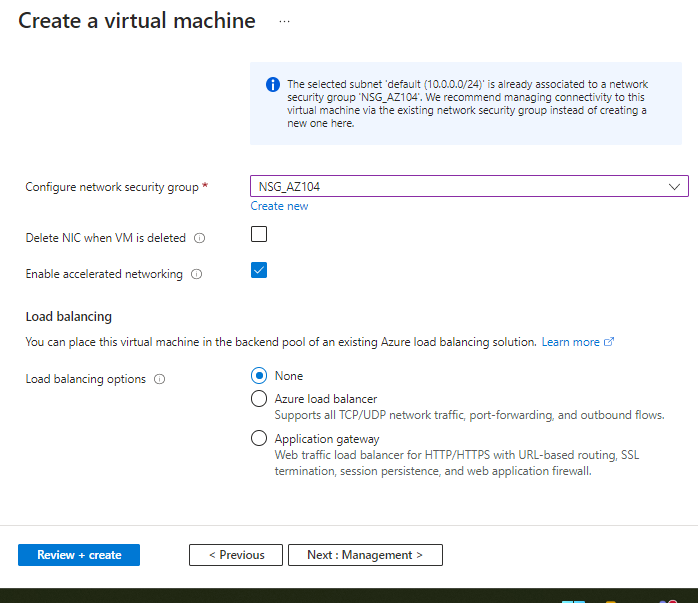
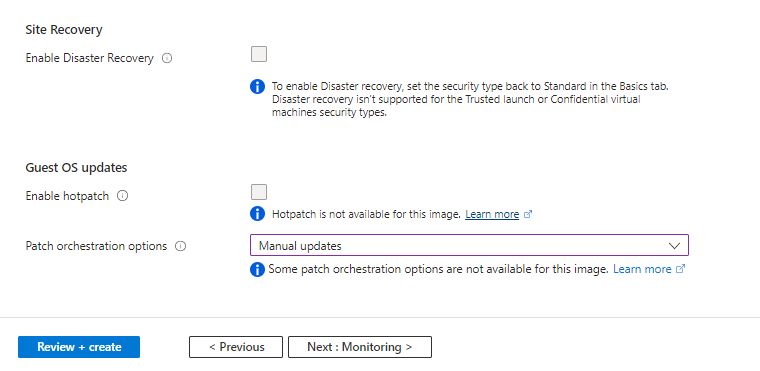
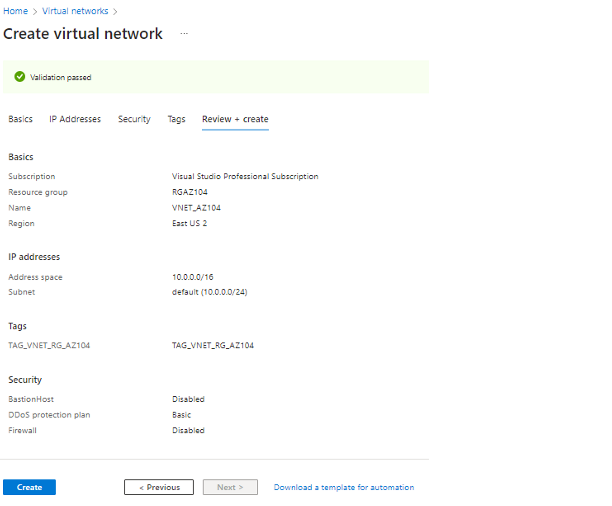
- Configure the virtual machine settings, such as the size, storage, and networking.
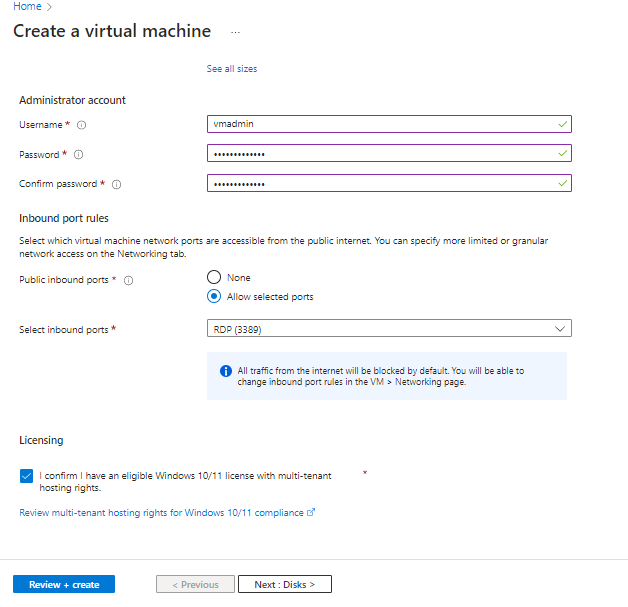
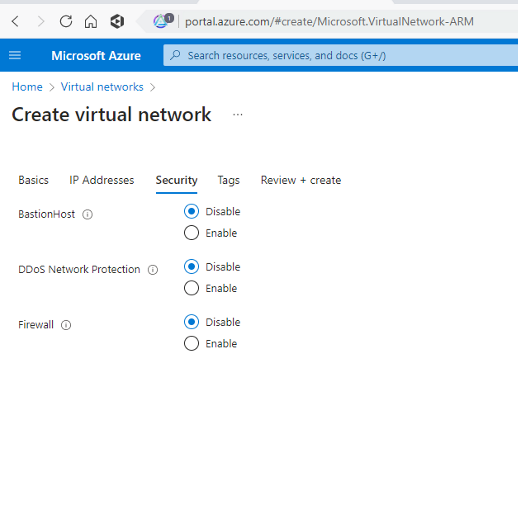
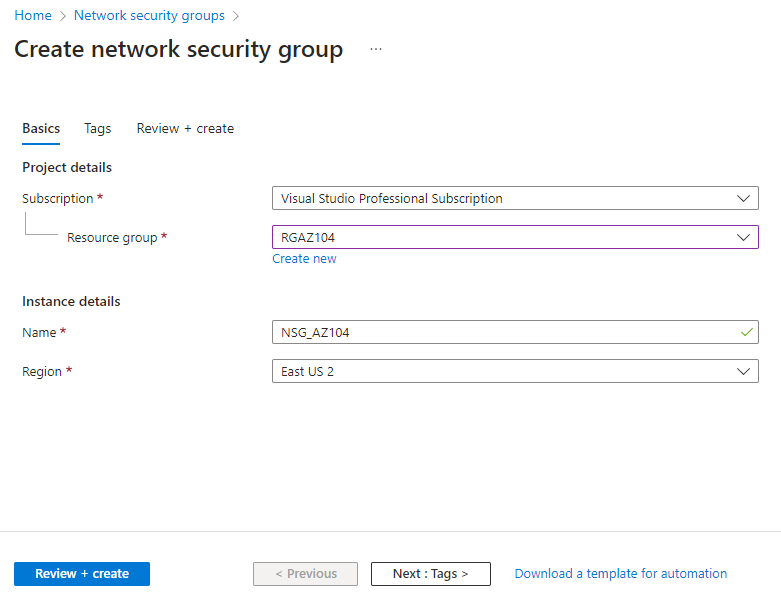
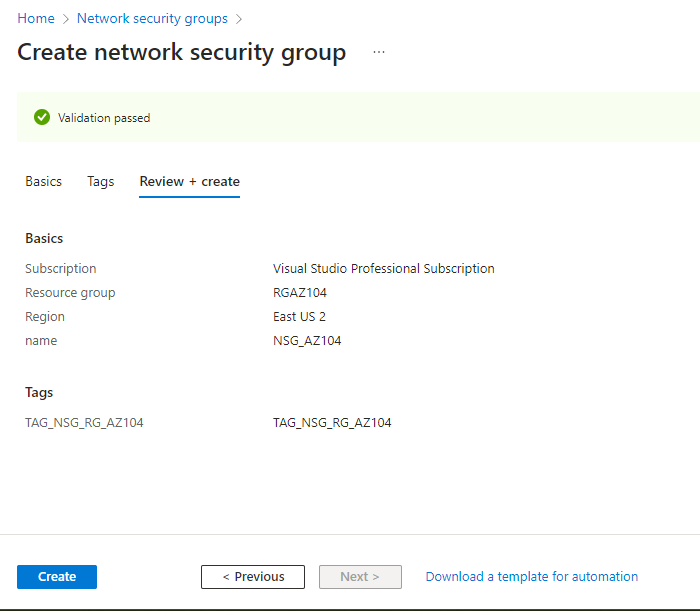
- Set up security and access controls, such as usernames and passwords, firewalls, and network security groups.
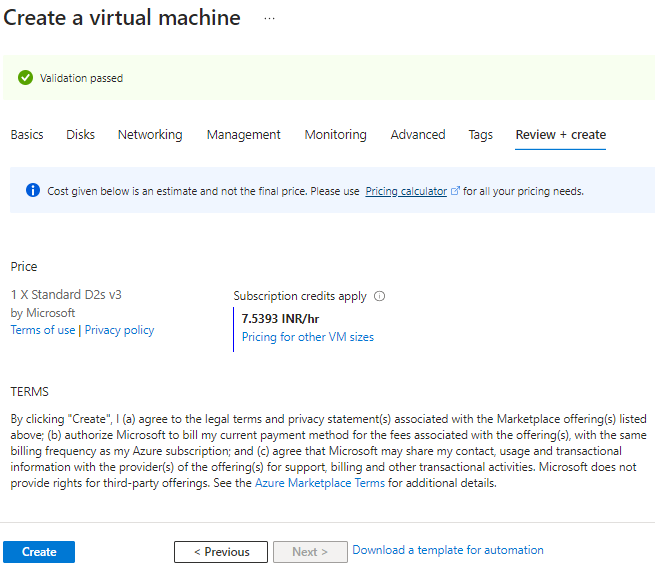
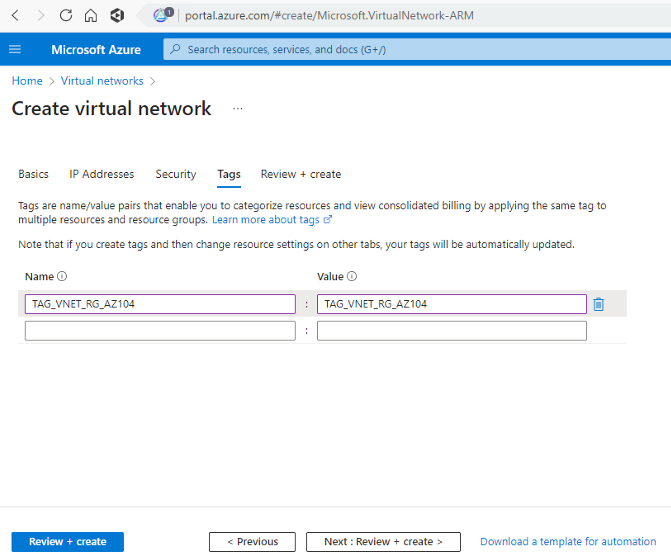
- Review and confirm your settings, then click Create to create the virtual machine.


Once you’ve created your virtual machine, you can manage it using the Azure Portal or PowerShell.
You can also configure its networking and storage settings, just like the Liverpool FC manager would configure their player’s training and performance settings.
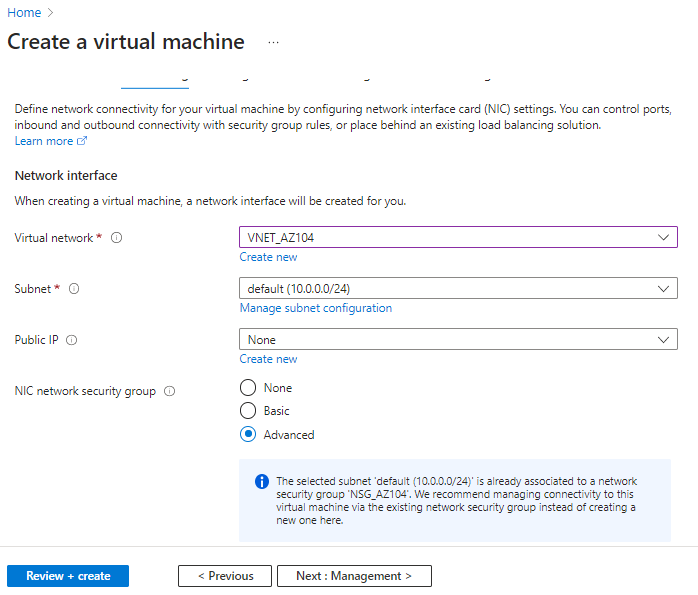
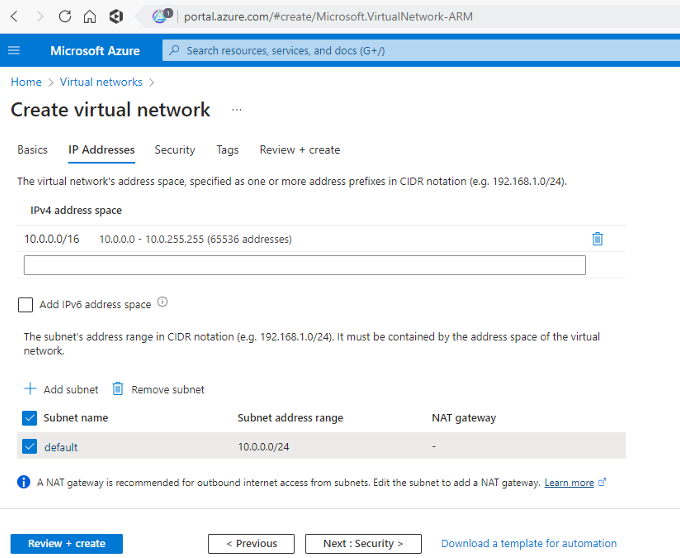
Configure Networking & Storage
Here’s how you can configure virtual machine networking and storage using the Azure Portal:
- Log in to the Azure Portal and select Virtual Machines from the left-hand menu.
- Select the virtual machine you want to configure, then select Networking or Storage from the left-hand menu.
- Configure the networking or storage settings, such as IP addresses, DNS settings, and storage accounts.
- Review and confirm your settings, then click Save to apply the changes.

Monitoring
Finally, let’s talk about monitoring and managing virtual machine performance and availability.
This is like monitoring your player’s stats and injuries.
Azure Virtual Machines offer a wide range of tools and services for monitoring and managing virtual machine performance and availability, including Azure Monitor and Azure Availability Zones.
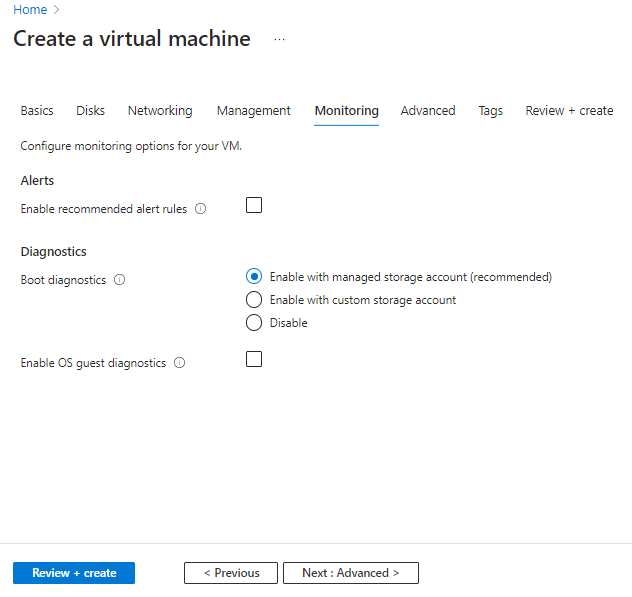
Here’s how you can monitor and manage virtual machine performance and availability using Azure Monitor:
- Log in to the Azure Portal and select Virtual Machines from the left-hand menu.
- Select the virtual machine you want to monitor, then select Metrics or Logs from the left-hand menu.
- Review the performance metrics and logs, such as CPU usage, memory usage, and disk I/O.

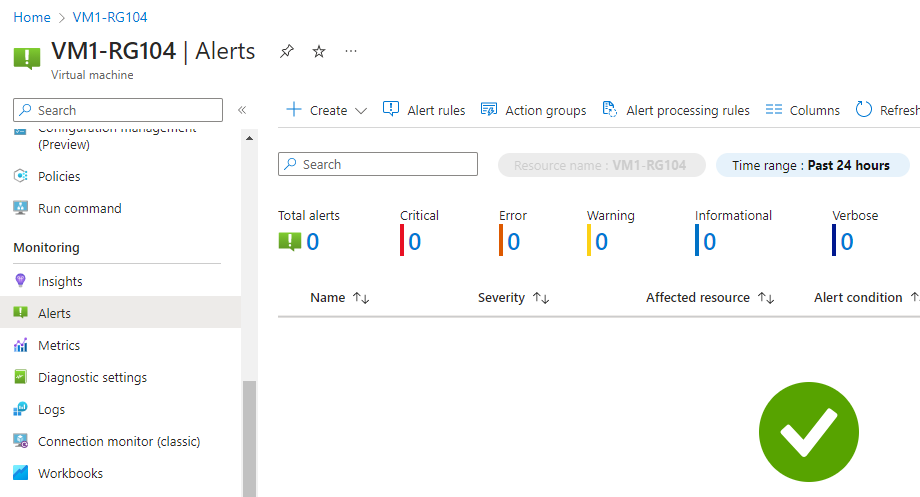
Use the data to identify performance issues and troubleshoot problems, just like the Liverpool FC manager would identify player performance issues and troubleshoot injuries.
Conclusion
With Azure Virtual Machines, you can manage your applications and workloads like a pro, using virtual machines that are created and managed through the Azure Portal or PowerShell.
Whether you’re customizing your virtual machine settings or monitoring and managing its performance and availability, Azure Virtual Machines have you covered.
So get in the game and start using Azure Virtual Machines today!
Peace out!