Azure Networking
Are you ready to kick your network game into high gear?
Azure Networking is like the midfield of your cloud computing team, helping you configure, secure, and manage your network resources on the cloud.
It helps you configure, secure, and manage your network resources on the cloud, using virtual networks, subnets, network security groups, load balancers, and traffic managers.
To get started with Azure Networking, you’ll need to create a virtual network and subnets.
This is like setting up the midfield for your team.
You can choose from a variety of network options, including Virtual Network, ExpressRoute, and VPN Gateway.
Here’s how you can create a virtual network and subnets using the Azure Portal:


- Log in to the Azure Portal and select Virtual Networks from the left-hand menu.
- Click the Add button and choose a subscription, a resource group, and a name for your virtual network.
- Configure the virtual network settings, such as the address space, DNS server, and subnet ranges.
- Create subnets within the virtual network, specifying the subnet name and the IP address range.


Once you’ve created your virtual network and subnets, you can start securing and managing your network resources using network security groups, load balancers, and traffic managers.
Network security groups
Network security groups are like the defenders of your cloud network, mate.
They allow you to set up and manage network security rules and access controls, ensuring that your network resources are secure and protected from unauthorized access.
Here’s how you can set up and manage network security groups using the Azure Portal:
- Log in to the Azure Portal and select Network Security Groups from the left-hand menu.
- Click the Add button and choose a subscription, a resource group, and a name for your network security group.
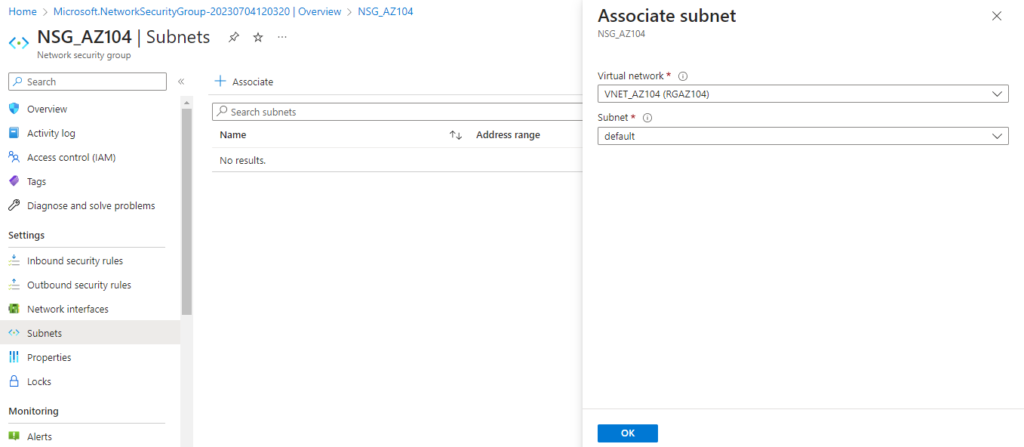
- Configure the network security group rules, such as inbound and outbound traffic, and associate them with your virtual network or subnets.

Load Balancers and Traffic Managers
Load balancers and traffic managers, on the other hand, are like the strikers and playmakers of your cloud network.
They allow you to distribute incoming network traffic and balance the load across multiple virtual machines, improving the performance and availability of your network resources.
Here’s how you can implement load balancers and traffic managers using the Azure Portal:

- Log in to the Azure Portal and select Load Balancers or Traffic Manager from the left-hand menu.
- Click the Add button and choose a subscription, a resource group, and a name for your load balancer or traffic manager.
- Configure the load balancing or traffic routing rules, such as round-robin or weighted distribution, and associate them with your virtual machines or endpoints.
Conclusion
With Azure Networking, you can configure, secure, and manage your network resources like a midfield maestro, using virtual networks, subnets, network security groups, load balancers, and traffic managers.
Whether you’re setting up network security rules or load balancing network traffic, Azure Networking has you covered.
So get in the game and start using Azure Networking today!
Peace out!


